Surfboard Racks and Tie-Down Straps for Secure Car Transport
Secure surfboard transport requires two separate functions: a compatible rack must support and cushion the board, while tie-down straps must restrain it against that support. Choose the setup first by the vehicle roof configuration, then by the complete board load; transport only when the rack capacity, support area, strap reach and routing, buckle position, and final movement check all suit the specific vehicle–rack–board combination.
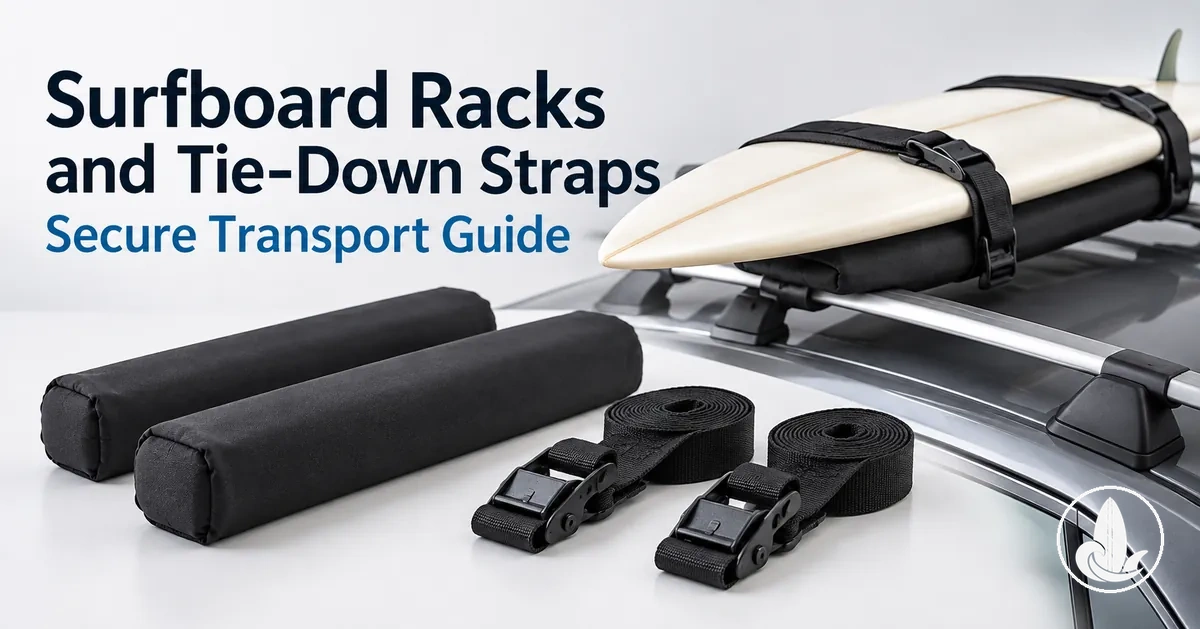
Choose the transport setup by compatibility, then verify restraint
Use the vehicle roof configuration to choose the support method, then check the complete board load before relying on the tie-down system.
Use rack pads that fit the crossbar profile and support area, then use tie-down straps with enough working reach for the specified restraint path.
Use a soft roof rack only when it is compatible with the vehicle, including roof shape, door configuration, support spacing, routing, and stated load limits.
Verify support, restraint, and board condition together. The board should remain stable without visible compression or damage, and loose strap tails must remain controlled.
- Support
- Rack or soft supports sit where the system specifies and the board contact area is padded.
- Capacity
- The complete board load remains within the stated limits for the vehicle and rack configuration.
- Restraint
- Straps follow the intended rack points with sufficient working reach and a protected, accessible buckle position.
- Final check
- The board or board stack does not shift during a controlled movement check and shows no visible compression or damage.
Decision rule: if a required support position, load limit, restraint path, or stable movement check cannot be achieved, the setup is not suitable as configured.
Table of Contents
Surfboard Roof-Rack Systems and Tie-Down Components
A surfboard roof-rack system combines support, padding, and restraint so the board is supported on the vehicle, cushioned at board contact points, and restrained against unwanted movement.
Crossbars or suitable soft racks provide the support interface, rack pads add cushioning between the board and harder support surfaces, and tie-down straps provide restraint through webbing held by a buckle.
Padding manages board contact but does not replace the restraint provided by tie-down straps.
The main component functions are:

- Crossbars: when compatible with the vehicle and roof-rack system, crossbars provide structural support points beneath the surfboard.
- Rack pads: padding fitted over compatible crossbars cushions board contact with the harder support surface; rack pads provide a protective interface rather than restraint.
- Soft racks: when suitable crossbars are absent, soft racks compatible with the vehicle provide an alternative padded support path, with fit and routing determined by the rack and car-roof configuration.
- Tie-down straps: suitable webbing provides restraint against board movement when matched to the supported load and routed according to the applicable rack configuration.
- Buckles: a buckle holds the tie-down strap at its set tension, while buckle position determines where the hard component sits relative to the board and vehicle contact areas.
- Protective contact features: rack padding and buckle covers, where included in a compatible system, create softer interfaces at potential contact points but do not substitute for structural support or tie-down restraint.
Crossbar-based and soft-rack systems differ in their support method, but both need a stable support interface and a defined restraint path: padding manages hard contact, while tie-down straps provide restraint.
Transport racks support and restrain a surfboard on a vehicle, whereas storage racks support boards when they are not being transported.
Crossbars with Surfboard Rack Pads
Rack pads sit over crossbars to create a cushioned contact area between the hard roof bars and the surfboard.
- Crossbar profile
- Match the rack pad to the actual bar profile and width; round, square, and aerodynamic bars can require different pad shapes or attachment arrangements.
- Pad coverage
- The pad should cover the support area where the surfboard contacts the crossbar rather than simply fitting somewhere on the bar.
- Attachment
- The pad must remain secured and positioned over the intended contact area during use.
- Function
- Rack pads cushion the support point; tie-down straps provide the restraint.
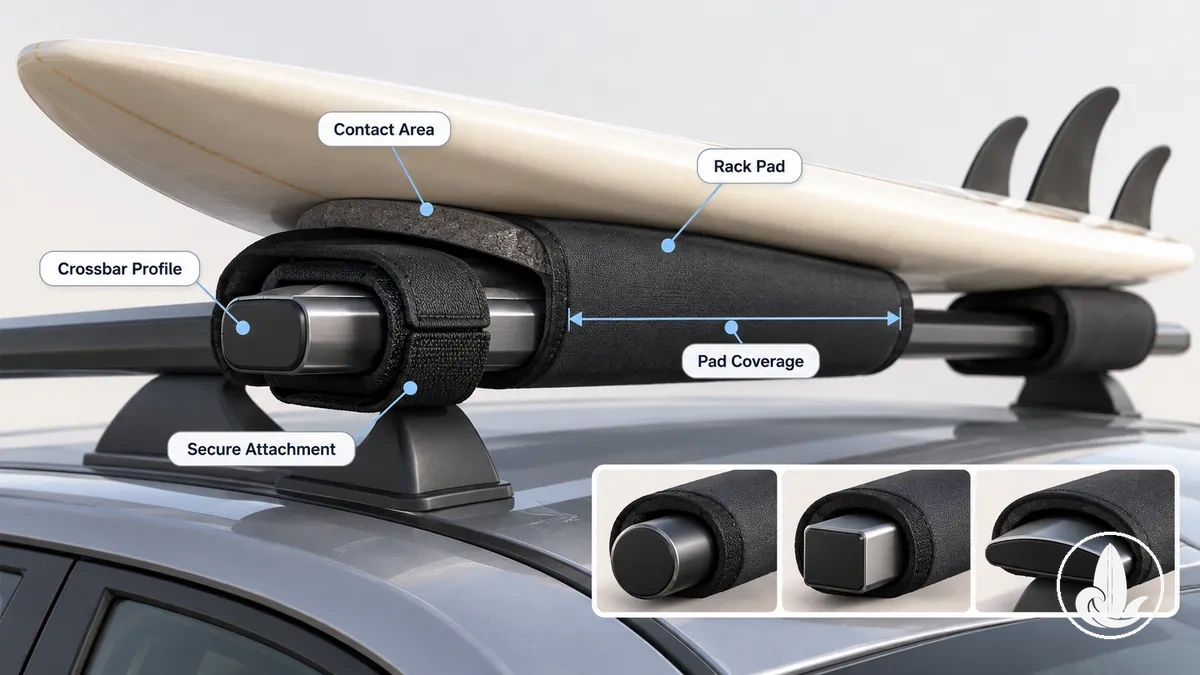
Protection at the support points depends on compatible crossbar fit, sufficient pad coverage, secure attachment, and suitable cushioning. Rack pads reduce hard contact; they do not replace tie-down straps.
Soft Roof Racks for Cars Without Crossbars
A soft roof rack can work on some cars without crossbars when the rack is compatible with the vehicle and used within the conditions stated for that rack.
Compatibility depends on the car's roof shape and door configuration, the available rack spacing, the specified strap routing, and whether the board load remains within the limits stated for the rack and vehicle.
These conditions determine whether the soft supports can sit in their specified positions and whether the restraint can follow the required route.
Check each compatibility condition before treating a soft roof rack as suitable for a car without crossbars:
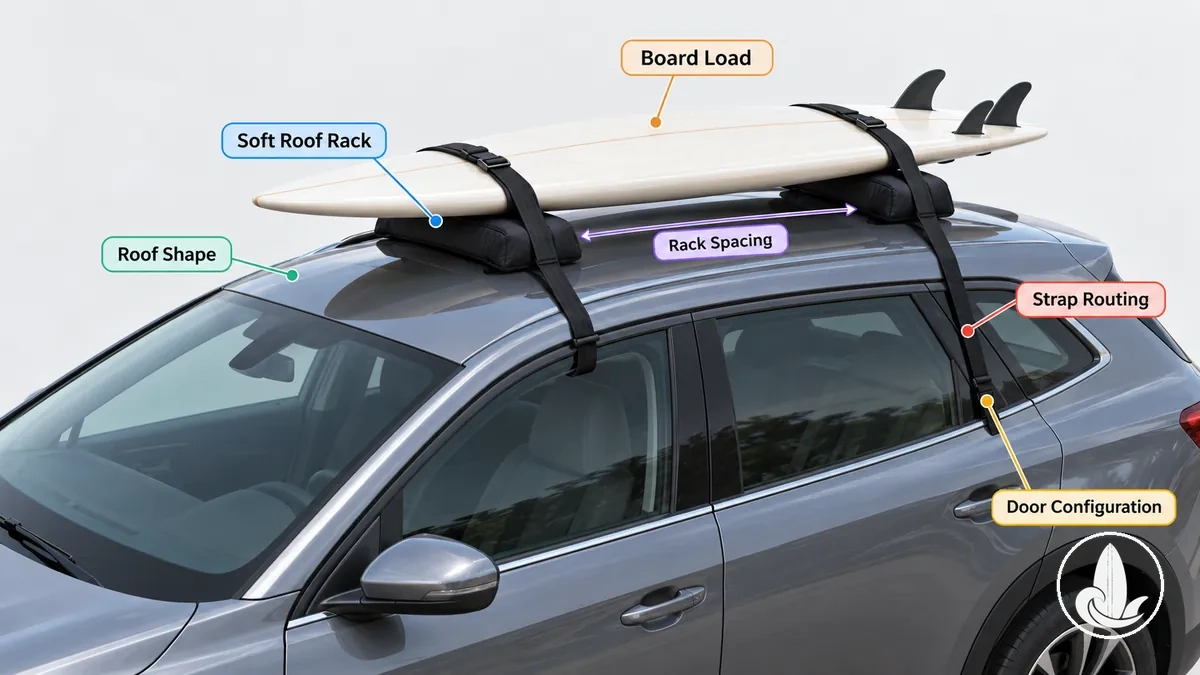
- Roof shape: the car roof must provide the support locations required by the specific soft roof rack; if those locations cannot be achieved, compatibility is not demonstrated.
- Door configuration: the doors and openings must accommodate the strap routing specified by the rack instructions; a configuration that blocks that route requires a different compatible setup.
- Rack spacing: the available roof area must allow the soft supports to be positioned at the spacing specified for the rack and intended board load.
- Strap routing: straps passing through or around the vehicle must follow the route specified for the rack and suit the vehicle interior, doors, and roof configuration rather than an improvised path.
- Board load: the surfboard quantity and combined load must remain within the limits stated for the specific rack and vehicle configuration.
- Stated use limits: vehicle- or rack-specific operating conditions must remain within the applicable instructions rather than being inferred from another soft-rack system.
If the roof shape, door configuration, required support spacing, specified strap route, or board load cannot satisfy the rack and vehicle instructions, the soft-rack setup is not compatible as configured.
Treat a soft roof rack as a vehicle-specific alternative rather than a universal replacement for crossbars; confirm final fit, routing, load, and stated use conditions against the instructions for both the rack and the vehicle.
Choosing Rack Pads and Tie-Down Straps for Your Boards
Choosing rack pads and tie-down straps starts with the vehicle setup and board load: crossbars require rack pads that fit the bar profile and support area, while a soft rack must be compatible with the vehicle and intended load.
The board load sets the required rack capacity and affects the strap reach needed to pass around the supported boards and follow the specified restraint path, while buckle protection and cushioned board contact manage hard-component contact with the board.
Because these values are configuration-specific, verify fit, rack capacity, restraint method, and strap reach against the applicable rack, vehicle, and strap instructions rather than assuming one board count or strap length applies to every setup.
Use these criteria to narrow the choice:
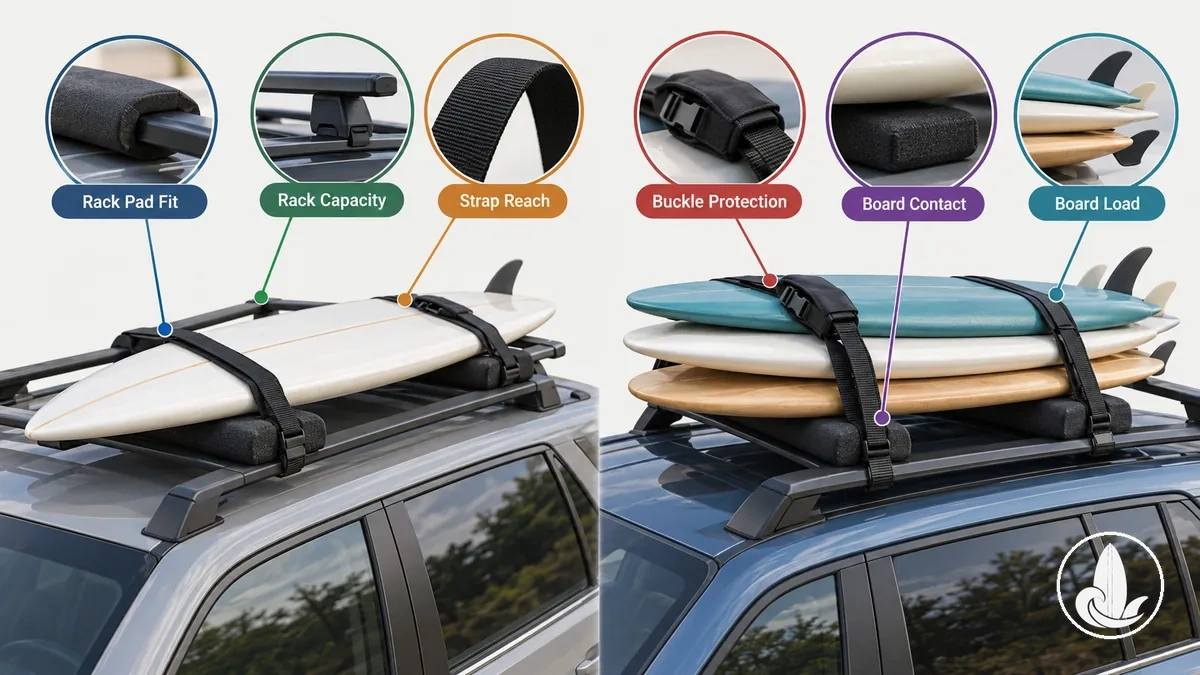
| Setup factor | Acceptable condition | Selection effect |
|---|---|---|
| Crossbars | Rack pads fit the crossbar profile and cover the board support area. | Select pad shape and coverage for the actual crossbars rather than assuming the same fit across different bar profiles. |
| Soft rack | The soft rack is compatible with the vehicle, board load, support positions, and specified restraint method. | Use the soft-rack option only when the vehicle and load satisfy those stated conditions. |
| Board load | The complete board load remains within the rack capacity stated for the specific rack and vehicle configuration. | As board count or combined load increases, verify that rack capacity and available support space still accommodate the resulting board stack. |
| Strap reach | The tie-down straps have enough usable reach to pass around the supported board load and follow the restraint path specified for the rack configuration. | A thicker board stack or longer restraint path requires more strap reach, so the required length must be verified for the actual configuration rather than inferred from another setup. |
| Buckle protection | The buckle and its protective interface can be positioned so the hard buckle is not the intended contact surface against the board. | Select a configuration that provides protected buckle placement while retaining the specified restraint path. |
| Board contact | Rack pads or soft supports provide cushioning across the intended support area, while the tie-down straps provide restraint. | Select padding for support contact and straps for restraint rather than treating either component as performing both functions. |
On compatible crossbars, select rack pads that fit the bars and cover the support area, then use tie-down straps with enough working reach for the specified restraint path.
Check the combined board load and stack dimensions against rack capacity and support space, then confirm sufficient strap reach, stable contact, and protected buckle placement.
Selection rule: choose a configuration that satisfies support fit, stated capacity, usable strap reach, buckle protection, and cushioned board contact together; adding boards increases load and stack thickness, so those conditions must be rechecked.
Board Size, Number, and Rack Capacity
Board size and board count change the physical load that a rack system must accommodate: board length and board width affect the usable rack span and pad coverage required for supported contact.
- More boards
- Stacked height and combined load increase, so capacity and support conditions must be rechecked.
- Larger stack
- If the restraint path becomes longer around the board stack, more usable strap reach is required.
- Capacity decision
- There is no universal board-count or strap-length value; the stated vehicle and rack limits control the final fit decision.
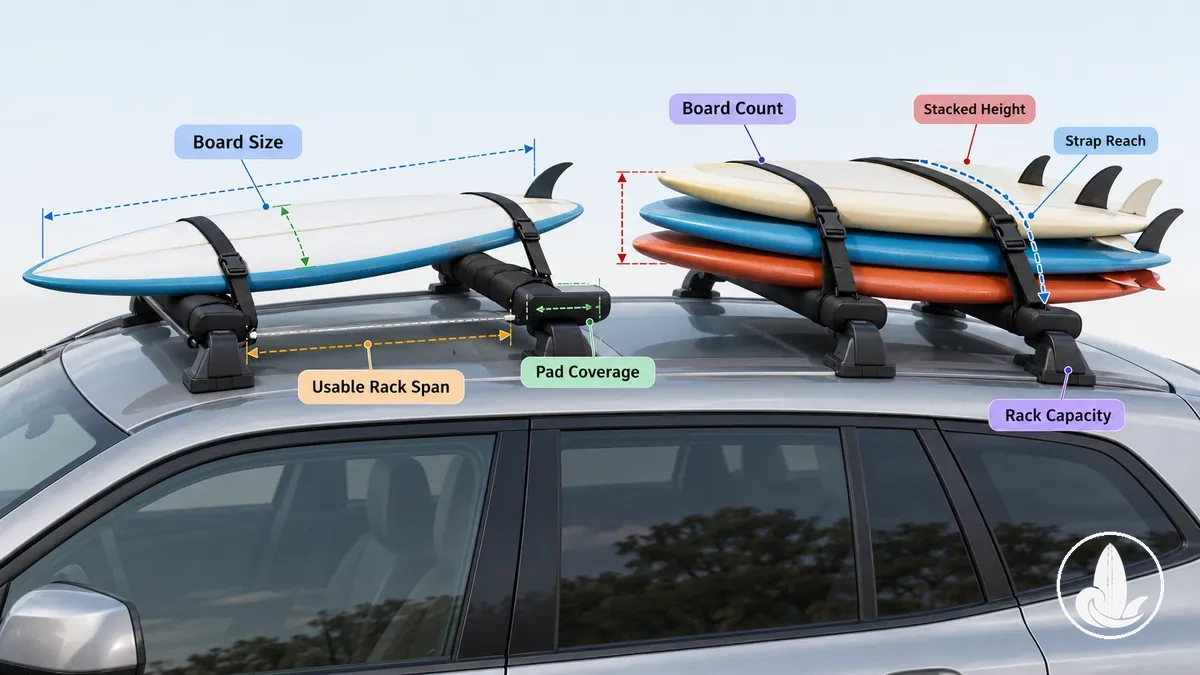
A single board can require less strap reach than a taller multi-board stack on the same support. A multi-board setup is suitable only when its dimensions and combined load remain within the stated vehicle and rack limits and the support area, padding, and restraint components still accommodate the complete stack.
Strap Length, Webbing, and Buckle Protection
A tie-down strap combines working length, webbing, a buckle mechanism, and buckle protection, and each attribute affects routing, adjustment, handling, or board contact.
Strap length must provide enough working length for the actual board stack and routing path, while the webbing width and construction must suit the cam buckle and intended rack-and-board configuration.
Buckle protection provides a softer interface where buckle position could otherwise create hard contact with the board surface.
The table connects each strap attribute with its required use condition and practical effect.
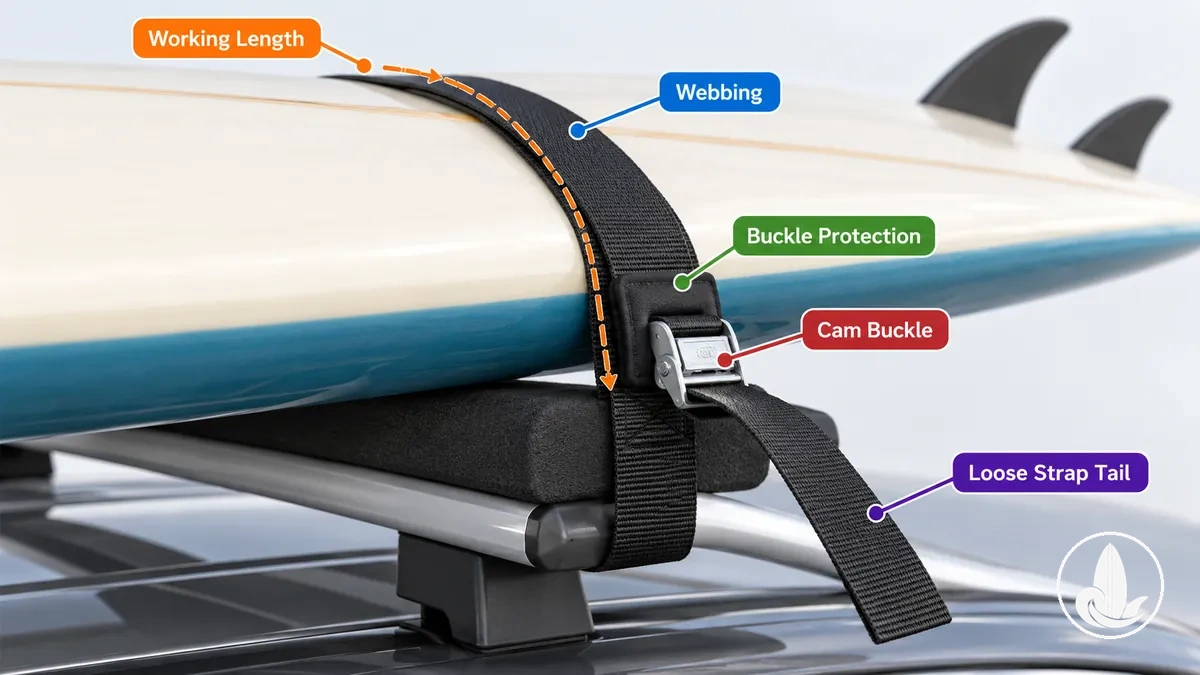
| Strap attribute | Use condition | Effect |
|---|---|---|
| Strap length | The working length reaches around the actual board stack and through the specified routing path. | Adequate reach allows the tie-down strap to follow that path, engage the buckle, and retain enough webbing for adjustment. |
| Webbing | The webbing width and construction suit the cam buckle and intended rack-and-board configuration. | Matched webbing passes through the buckle as intended and forms the flexible working portion used for routing and adjustment. |
| Cam buckle | The cam buckle accepts the webbing and remains accessible at its intended adjustment position. | The buckle provides the adjustment interface used for controlled tightening and holding the webbing at the required restraint position. |
| Buckle protection | A protective interface separates the hard buckle from the board where their positions could create board contact. | The softer interface reduces direct hard-component contact at that point without taking over the restraint function of the tie-down strap. |
| Loose strap tail | Webbing remaining after adjustment is managed separately from the working routing path. | Tail management keeps surplus webbing from becoming part of the working length or interfering with the intended strap path. |
The board stack and routing path determine the working length required, while compatible webbing and a cam buckle provide the interface for routing and controlled tightening; greater tightening force is not inherently better.
Buckle protection matters where buckle position creates potential board contact, while loose-tail management applies to webbing remaining after the required adjustment is made.
Adequate working length is enough strap reach for the specified route and adjustment, whereas webbing beyond that requirement becomes a loose strap tail that requires management rather than useful working reach.
Securing Surfboards on a Roof Rack
Support the surfboard on the intended roof rack surfaces and rack pads, route the tie-down straps through the designated secure points, tighten them progressively until the board does not shift without applying unnecessary pressure, and complete a movement check before driving.
Exact board placement and strap routing depend on the crossbar or soft-rack design, so the roof-rack system's instructions determine the permitted support points and restraint path.
Controlled tightening should remove slack and restrain movement rather than rely on greater tension as the goal.
Use this sequence while keeping each action specific to the actual roof-rack system:
- Inspect the rack and pads: confirm that the roof rack is fitted as specified for the vehicle and that the rack pads cover the intended support points before placing the surfboard.
- Position the surfboard: place the board on the intended padded support points with stable contact and suitable clearance, using the orientation specified for the actual rack and board configuration.
- Route the straps: pass the tie-down straps through the designated secure points and around the supported board load according to the applicable roof-rack instructions.
- Position the buckle: keep the buckle accessible for adjustment and position its protective interface, where present, between the hard buckle and any potential board contact area.
- Remove slack and tighten: take up slack progressively until the tie-down straps restrain board movement without applying unnecessary pressure to the surfboard.
- Manage loose tails: manage the remaining strap tails so surplus webbing stays separate from the working restraint path.
- Check movement and condition: perform a movement check at the surfboard and inspect the tie-down straps, buckle, rack pads, and board contact points before driving.
The final movement check confirms whether the surfboard remains stable on its support points; if the board shifts, recheck rack position, strap routing, slack, and adjustment before driving.
With multiple boards, the same sequence applies, but a larger board stack can require more support space and strap reach, so those conditions must suit the actual rack, vehicle, and board configuration.
Recheck board condition and restraint after adjustment rather than compensating for movement with excessive tightening.
Where the roof rack or soft-rack design specifies a particular routing path, placement, orientation, or operating condition, follow the manufacturer instructions for that configuration.
Board Position, Orientation, and Rack Padding
Board position should keep the surfboard stably supported on the intended padded rack surfaces while preserving clearance for its shape, fins, and any additional boards.
- Support contact
- Keep the deck or rails on the intended padded support areas and avoid concentrated contact on an exposed crossbar edge or other hard point.
- Fin and shape clearance
- Position the board so fins and other projecting parts remain clear of the vehicle, rack, and neighbouring boards.
- Overhang and alignment
- Keep the board aligned over the supporting rack surfaces with overhang that remains compatible with the board and rack configuration.
- Stacked boards
- Maintain padded support and stable spacing so boards do not shift into fin-to-board or fin-to-rack interference.
No single nose-or-fin direction suits every setup. Use the placement and orientation specified for the actual board and rack configuration while maintaining stable support, adequate clearance, and appropriate padding.
Strap Placement and Routing
Tie-down straps should follow the roof-rack system's intended restraint path so strap placement transfers restraint through the designated rack points rather than an improvised path.
Strap routing should keep the webbing flat over the surfboard and use the front and rear restraint positions specified by the particular rack design.
Exact rack points and paths differ by rack configuration, so use the positions and routing stated for the actual crossbar or soft-rack system.
Follow this sequence to verify that the strap path is controlled, untwisted, and connected to the intended restraint points:
- Identify the restraint positions: locate the front and rear restraint positions specified for the rack system, and confirm that each intended rack point belongs to the stated strap path rather than an improvised anchor.
- Lay the webbing over the board: position the tie-down straps with flat webbing across the intended board surface, checking that the webbing is not twisted and that no hard strap component creates unintended board contact.
- Route through the rack points: pass each strap around or through the intended rack points as specified for that rack design, then trace the route to confirm that the restraint path is continuous and unambiguous.
- Position the buckle: keep the buckle accessible for adjustment and position its protective interface, where provided, between the hard buckle and any potential board contact area.
- Manage the loose strap tail: secure excess webbing so the loose strap tail remains controlled and separate from the working strap path, then check that it cannot interfere with the intended routing.
The governing routing rule is to use the rack system's intended rack points while keeping the webbing flat, the buckle accessible and protected from unintended board contact, and the loose strap tail controlled.
For a soft-rack system, follow the restraint positions and strap path specified for that rack rather than transferring a crossbar route to a different design.
Once strap routing and placement are verified, assess tightening and final tension separately using the procedure for the actual rack and board configuration.
Strap Tension and Movement Checks
Strap tension should prevent board movement without visibly deforming or damaging the surfboard.
Use controlled tightening to remove slack progressively, then judge the result by buckle seating, stable board contact, and a controlled movement check rather than a fixed tension or movement threshold.
If the board still shifts, increase restraint progressively; if compression, rail marks, or visible deformation appear, reduce the tension and inspect the affected contact area.
Use these observable signals to verify the setup:
- Progressive tightening: remove slack in controlled stages; if board movement remains, continue controlled tightening and repeat the movement check while watching for compression.
- Buckle seating: confirm that the buckle is seated with the webbing engaged as intended; if the buckle is misaligned or the webbing is not held correctly, reposition it before relying on the restraint.
- Movement check: apply a controlled movement check to the supported board; if the board shifts against the rack supports, recheck the restraint and adjust strap tension progressively.
- Board contact: inspect where the webbing and padded supports contact the surfboard; if concentrated compression, rail marks, or visible deformation appear, reduce tension and correct the contact condition before rechecking.
- Strap security: check that the webbing remains properly engaged at the buckle and that the working strap position remains stable; correct any displaced or poorly seated section before relying on the restraint.
- Recheck conditions: repeat the movement check and inspect board contact when the board load or relevant rack, strap, or contact conditions change.
Board movement or shifting remains during the movement check. Tighten progressively, then recheck buckle seating and board contact.
The board remains stable without visible compression, deformation, or damage.
Visible compression, rail marking, or deformation appears. Reduce tension, correct the contact condition, and reassess the restraint.
Recheck strap tension and board condition whenever the load or relevant setup conditions change.
Transport Safety Checks and Common Tie-Down Mistakes
Transport safety depends on checking the rack, support surfaces, board load, straps, buckles, and loose ends as one system before driving. For multiple boards, the complete stack must remain supported and restrained without boards shifting against each other or the rack.
Common failure signals are observable: board movement indicates inadequate restraint or unstable support, while visible compression or board damage indicates that tension or contact needs correction. A hard buckle against the board or an uncontrolled strap tail also requires correction.
Use this pre-drive checklist, and correct every failed condition before relying on the setup:
- Rack attachment and pad position: confirm the rack attachment is seated as specified for the vehicle and rack system and that rack pads remain beneath the intended board support areas; correct a loose attachment, inadequate padding, or displaced pad before relying on the setup.
- Board movement: perform a controlled movement check; if the surfboard shifts against its supports, recheck the rack attachment, board support, strap routing, and strap tension before driving.
- Strap routing and tension: confirm the straps follow the rack system's intended restraint path and restrain the board without visible compression or deformation; correct an ambiguous route, remaining movement, or excessive tension.
- Buckle contact: inspect each buckle position; if a hard buckle contacts the board, reposition it or use the protective interface provided by the applicable setup.
- Loose strap tails: confirm excess webbing is securely managed and separate from the working restraint path; secure any loose strap tails that remain uncontrolled.
- Multi-board stability: when carrying more than one board, check the complete stack for shifting or unstable contact; correct the support or restraint condition if a board moves independently or the stack does not remain stable.
- Recheck: repeat the relevant checks when the board load or rack, strap, support, or contact conditions change.
The setup passes the pre-drive check only when the rack and pads remain correctly positioned, the board or stack does not shift, the straps follow the intended rack points, and the applied tension restrains movement without visible compression or damage. Any failed condition calls for correction and another check rather than compensation elsewhere in the setup.
Recheck the restraint system whenever the board load or relevant rack, strap, support, or contact conditions change.
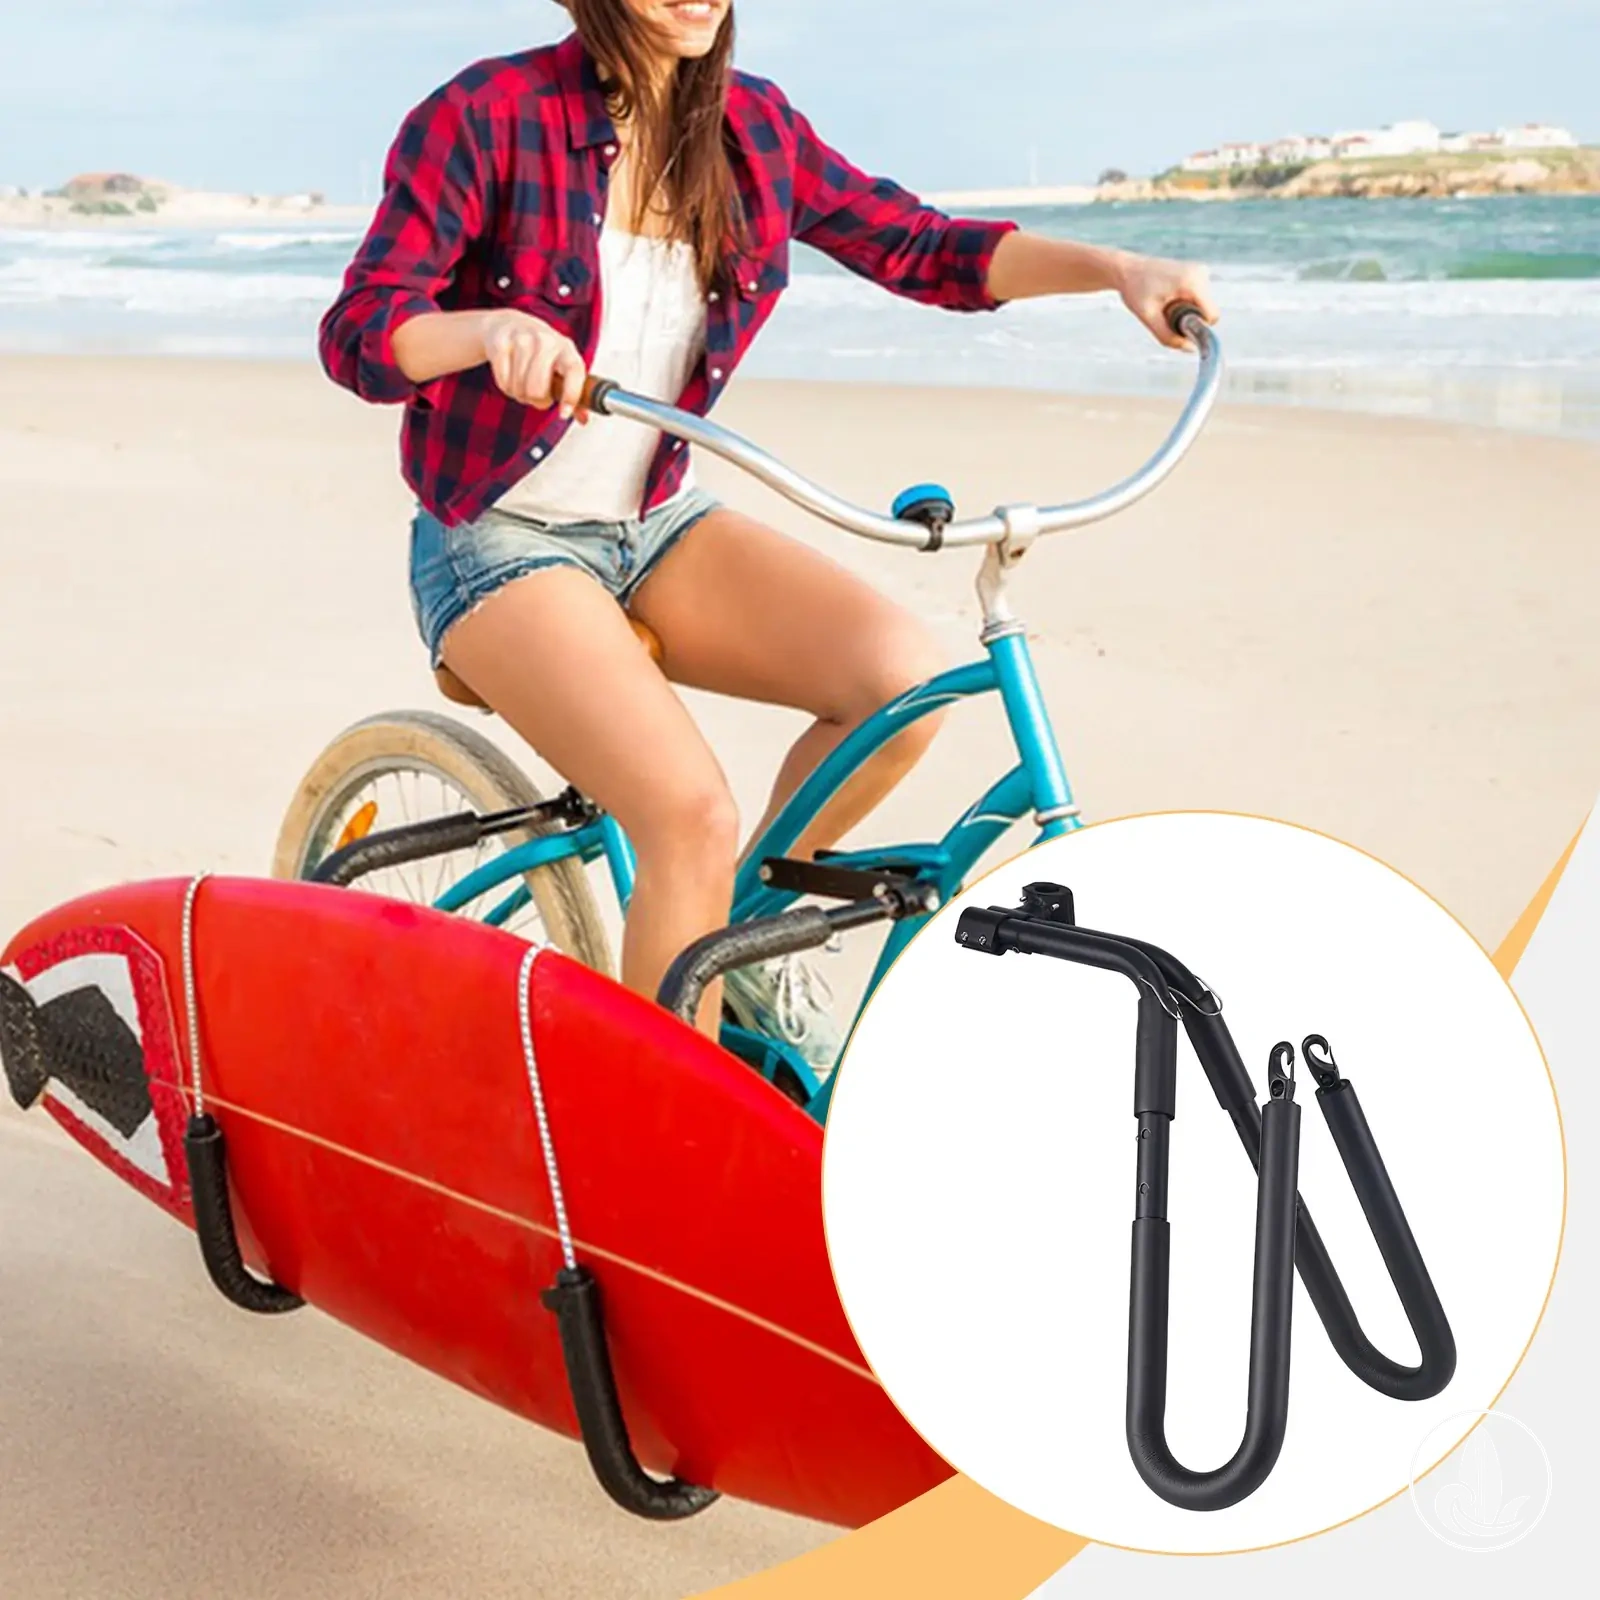
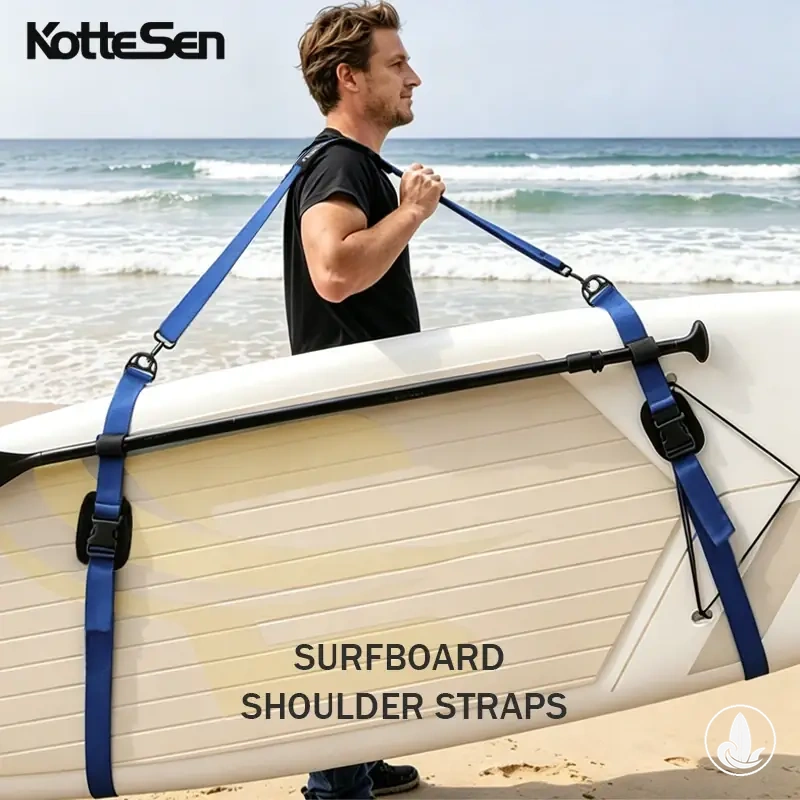
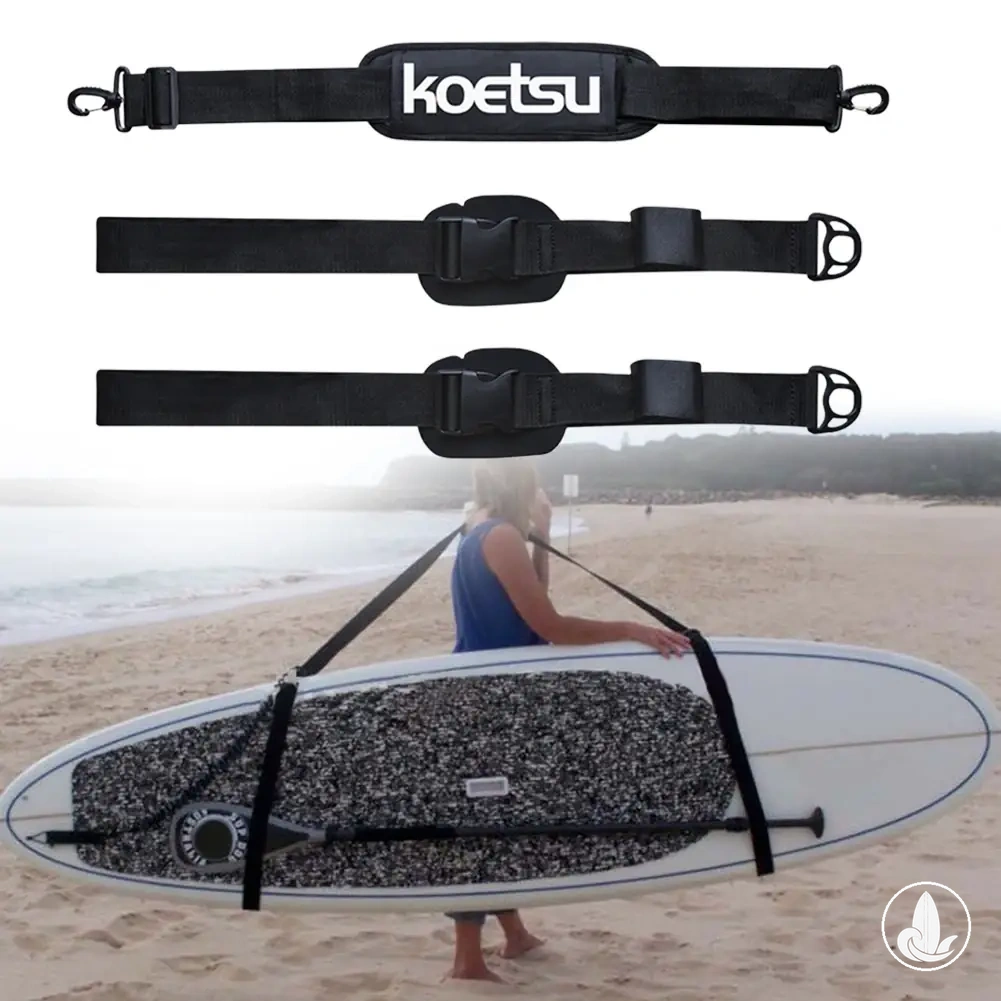
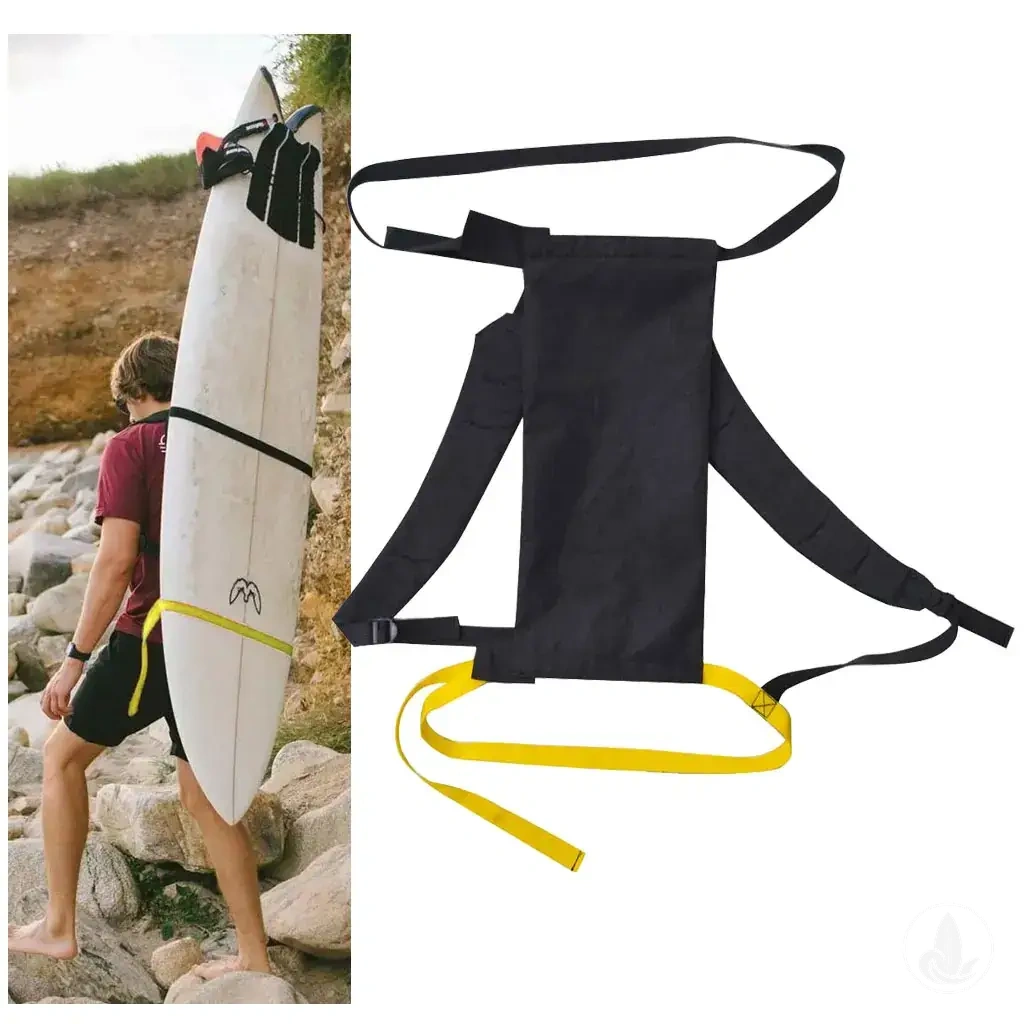
The products below are related board-carrying accessories for adjacent use cases; they are not substitutes for a compatible car roof-rack and tie-down system.
Before following a product link, check the item’s intended use, compatibility, dimensions, and listed features against the transport or carrying task you actually need.